| Author: | Gianluca Agliozzo (gianluca.agliozzo@gmail.com) |
| Advisor: | Prof. Sebastiano Battiato (battiato@dmi.unict.it) |
| History: | This plugin was implemented in September 2011 |
|
Works with: |
grayscale and RGB images (does not work with stacks) |
| ImageJ's version: | 1.44i (used to develop this plugin) |
| Source: | OpticalDeblur_source.zip |
| Binary: | OpticalDeblur.zip |
| Installation: |
Download Optical_Deblur.zip and extract to plugins folder in imagej. Restart ImageJ to add the "Optical Deblur" command to the Plugins menu. If you would compile the plugin, download Optical_Deblur_source.zip that contains source code, a binary jar of Parallel Iterative Deconvolution and files for eclipse project. |
| Description: |
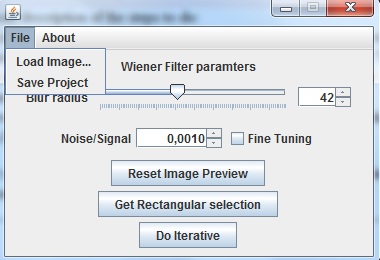
This plugin implements an interface to deblur images, with a focus for a forensic use. Deblur algorithm is part of the package Parallel Iterative Deconvolution, in particular it uses wpl (Wiener Filter Preconditioned Landweber) method, that is the parallel (multi-thread) version of an other project: Iterative Deconvolve. Unlike the above-mentioned plugins, Optical Deblur works with RGB Images loosing the stack functionality. It also does not require insertion of a point spread function, because this is intended to use only with out-of-focus images or elements. It uses a circular mask with the radius selected from the user. The other input parameter is the noise to signal ratio estimated from the user. When parameters change, is generated a preview with 1 iteration(as a standard wiener filter). Clicking the "Do Iterative" button starts the iterations (max 100) that stops when last iteration does not introduce noticeable changes (mean delta from iterations < 1%), User can select a rectangular section on the original image, if he is interested just to a portion of the image. Otherwise, he can get the ideal parameters from a portion of the image, so then deblurs the entire image (Clicking on "Reset Image Preview" button). In the menu File is present a "Save Project" voice, that let the user chooses a folder. In this folder is created a folder, whose name is the name of original image, plus an index that is the number of project. In this project folder is saved the output image and a html report file that contains info on author, time, original image, md5 hash of the input file, info on the rectangular selection if used, info of the output file, and parameters used to generate the output image. |
| Usage: |
Here is a brief description of
the steps to do: 2b) (Optional) Click on the button "Reset Image Preview" to restore entire area preview. 3) Insert parameters;
 |
Example: |
Original Image 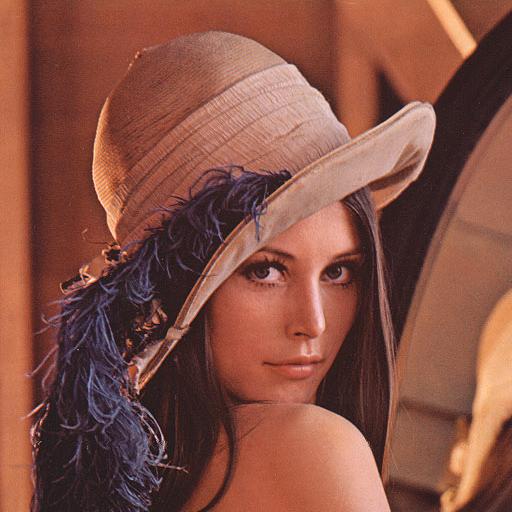 Blurred Image 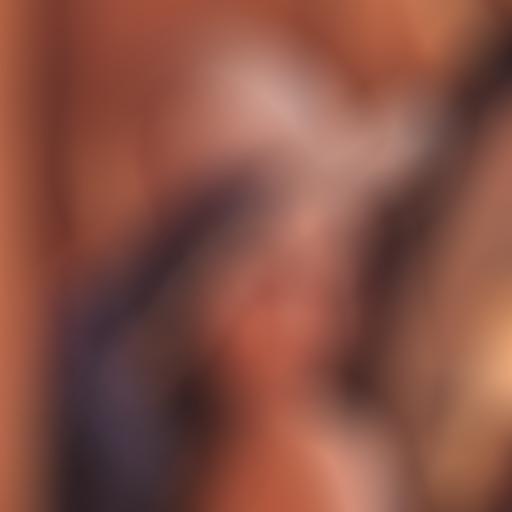 Deblur Preview (1 iteration) 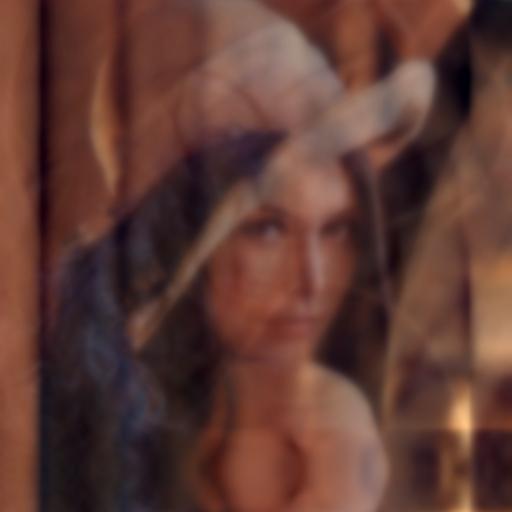 Deblurred Image 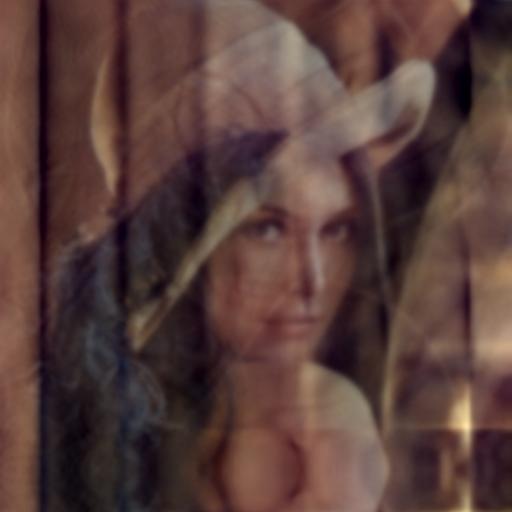
|
| Licenses: | Included in both source and binary package |